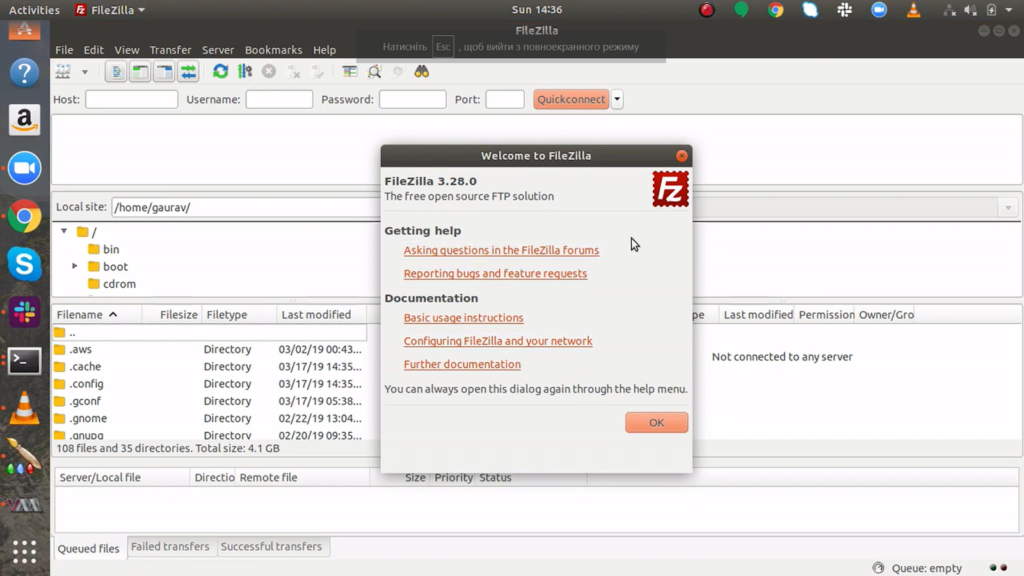
FileZilla, a robust and open-source application, serves as a valuable asset for users seeking efficient file transfers between their local computer and remote servers. Its user-friendly interface simplifies file transfer tasks through intuitive drag-and-drop functionality. With support for a range of protocols, including SFTP, FTP, and FTPS, FileZilla showcases its versatility in the realm of server file and folder management.
What sets FileZilla apart is its adaptability, offering extensive customization options to suit individual preferences. This adaptability enhances user experience by allowing them to tailor the tool’s features and appearance, making it a versatile and personalized solution for effective file management. Whether you’re a novice or an experienced user, FileZilla’s flexibility ensures that your file transfer needs are met with efficiency and ease.
Method 1: Install FileZilla on Ubuntu 22.04 with Apt
The Apt package manager stands as a cornerstone within Debian-based Linux distributions, with Ubuntu being a prominent example. This integral command-line utility empowers users with the ability to seamlessly oversee software packages, offering a suite of functionalities that encompass installation, uninstallation, upgrades, and package searches. In this comprehensive guide, we will delve into the intricacies of leveraging the apt package manager to facilitate the installation of FileZilla on the Ubuntu 22.04 platform. By doing so, we aim to provide users with a solid understanding of this essential tool’s capabilities and its practical application in managing software packages within their Linux environment.
Step 1: Preparing Your System by Updating Apt Packages
To ensure a smooth installation of FileZilla on Ubuntu 22.04, it’s essential to begin by updating your system’s package information. Open the terminal by pressing “CTRL+ALT+T” and execute the following command:
sudo apt update
Step 2: Installing FileZilla on Ubuntu
With your system updated, you’re now ready to install FileZilla. Execute the following command in your terminal to proceed with the installation:
sudo apt install filezilla -y
Note: The inclusion of “y” in the command indicates that the installation will proceed without requiring any user prompts, automatically selecting “yes” as the default response to any potential prompts that may occur during the installation process. Wait until the installation process has finished.
The installation of FileZilla on Ubuntu 22.04 was successful.

Method 2: Install FileZilla on Ubuntu 22.04 with GUI
While Ubuntu 22.04 caters to a diverse user base, encompassing those well-versed in the command-line interface and others who favor the user-friendly graphical interface (GUI) provided by Ubuntu Software, it’s essential to accommodate both preferences. In this section, we will delve into the installation of FileZilla on Ubuntu 22.04 via the GUI, ensuring accessibility and ease of use for a broader spectrum of users. This approach simplifies the process, allowing individuals with varying levels of technical expertise to effortlessly install FileZilla and utilize its capabilities on their Ubuntu systems.
Step 1: Launch Ubuntu Software Center
Access the Ubuntu Software Center by going to the “Applications” menu, searching for “Ubuntu Software,” and opening it.
Step 2: Install FileZilla
- Proceed by clicking the search icon located at the top-left corner of the window. Next, type “FileZilla” into the search bar, and once it appears in the search results, double-click on it to initiate the installation;
- Click the “Install” button to initiate the installation process;
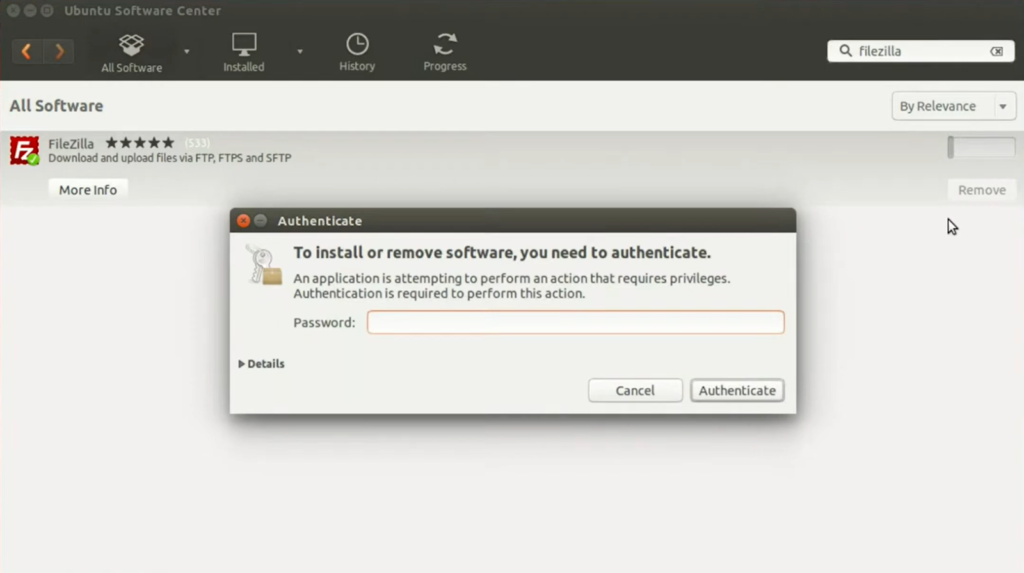
- To authenticate the installation process, please input your password;
- The GUI installation of FileZilla on Ubuntu 22.04 was successful.
How to Open FileZilla on Ubuntu 22.04?
- To launch FileZilla on Ubuntu 22.04, simply open the Applications menu and access it from there;
- You’ll notice that FileZilla is now ready for use:
Uninstalling FileZilla on Ubuntu 22.04

- You have the option to remove FileZilla from your Ubuntu 22.04 system using either the command line or the graphical user interface (GUI). To uninstall FileZilla via the command line, enter the following command in your terminal:
sudo apt-get purge filezilla -y
- Alternatively, you can also use the Ubuntu Software Center to uninstall FileZilla from Ubuntu 22.04. Here’s how: Open Ubuntu Software, navigate to the “Installed” tab, search for FileZilla, and then click on the “Delete” icon to initiate the removal process;
- Next, click the “Uninstall” button to confirm the deletion;
- As a result, FileZilla will be uninstalled.
Conclusion
To install FileZilla on Ubuntu 22.04, you have the flexibility of using either the command-line or graphical user interface (GUI) methods. If you opt for the command-line approach, start by updating the apt packages with the following command: “sudo apt update”. Then, enter “sudo apt install filezilla -y” in the terminal and press Enter. Alternatively, if you prefer the second method using the GUI, open the Ubuntu Software Center, search for “FileZilla,” and click the “Install” button to proceed.
This blog provides comprehensive guidance on both installing and uninstalling FileZilla on Ubuntu 22.04, ensuring a seamless experience for users.
