
A firewall serves as a crucial security component, functioning as a virtual fortification that establishes a clear separation between a computer network and external networks, including the vast expanse of the Internet, as well as dividing various segments within an internal network. Its paramount duty lies in the vigilant management and regulation of both inbound and outbound network traffic, all while upholding meticulously crafted security protocols.
This digital guardian not only acts as a sentinel but also as an arbiter of network traffic, making informed decisions about what data packets are allowed to pass through and which ones are denied entry. It enforces a set of predefined security rules and policies, effectively acting as a gatekeeper that grants or denies access to resources based on specific criteria. In essence, a firewall is the first line of defense in safeguarding a network from external threats, malicious activities, and unauthorized access attempts.
In today’s advanced technological landscape, having a solid understanding of and the ability to implement firewall rules are essential prerequisites for effectively navigating network systems.
Debian 12, a recent Linux release, holds a significant position among Linux users and is often used as a testing platform to evaluate system performance. Just like any other Linux distribution, a firewall plays a pivotal role in the Debian 12 ecosystem. Therefore, it’s crucial to familiarize yourself with the specific configuration procedures for the latest Debian 12 release. In this article, we will delve into the steps required to configure the firewall on Debian 12.
Configuring the Firewall on Debian 12
Configuring the firewall on Debian 12 involves a straightforward process primarily executed via command-line support. This guide utilizes the ufw (Uncomplicated Firewall) utility, renowned for its user-friendly command set, to establish and configure the firewall.
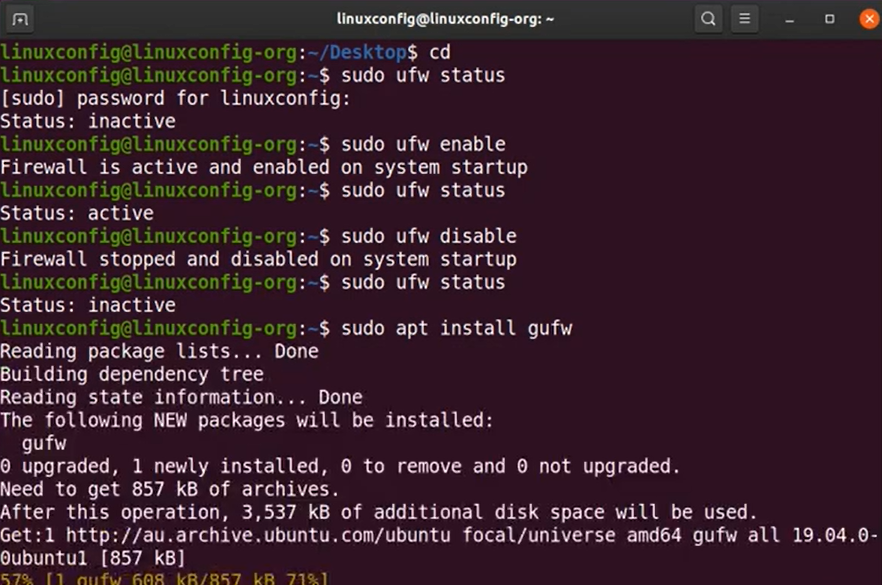
It’s important to note that ufw is not pre-installed on Debian 12 systems. Thus, we’ll begin by explaining the process of installing it on your Debian 12 system. Let’s delve into the installation procedure for ufw on Debian 12:
$ sudo apt install ufwThe terminal-based support provided by UFW is highly efficient and user-friendly, making it straightforward to embrace and apply. It boasts a comprehensive set of commands that enable users to effortlessly activate or deactivate firewalls, manage rules, and perform various other tasks. Let’s delve into comprehending and utilizing these UFW commands.
However, before we proceed with practical usage, it’s essential to familiarize ourselves with the syntax and available options for ufw commands. To gain this knowledge, execute the “ufw –help” command, as demonstrated below:
$ sudo ufw --helpEnabling the Firewall
A fundamental step when dealing with ufw is to activate the firewall as the initial action before advancing to more intricate configurations. By enabling the firewall, you establish the first line of defense for your system, fortifying it against potential threats and unauthorized access. This foundational step paves the way for the subsequent fine-tuning of rules and policies tailored to your specific security requirements. It is crucial to ensure that the firewall is up and running effectively, as it acts as a vital guardian for your network, shielding it from external vulnerabilities and malicious activities.
One commonly used option when working with ufw is to enable the firewall as the initial step before proceeding with any further configurations:
$ sudo ufw enableDisabling the Firewall
For deactivating, simply execute the following command:
$ sudo ufw disableAdding a Custom Firewall Rule
One of the most advantageous features of ufw is the ability to incorporate custom firewall rules in addition to the default ones. To implement this, follow the provided syntax:
$ sudo ufw allow <Name>You can also include rules for specific protocols, such as TCP and UDP:
$ sudo ufw allow <Name>/<Protocol>Allowing Ports (or a Specific Port)
Enabling the passage of ports through a firewall, whether for specific services or applications, is a crucial aspect of network configuration. The ufw utility simplifies this process by providing a user-friendly interface. To grant access to a particular port or range of ports, you can leverage the power of ufw with a straightforward command.
By utilizing the following command and substituting “<port>” with your preferred port number, you can seamlessly configure your firewall to allow incoming or outgoing traffic on that port:
$ sudo ufw allow <port>Permit a Particular Port on a Specified Protocol
The aforementioned instruction initiates the process of unlocking a specified port to accommodate incoming connections. However, it provides the flexibility to impose limitations on the volume of connections by designating the protocol, be it TCP or UDP.
$ sudo ufw allow <port/protocol>Denying or Rejecting Incoming and Outgoing Traffic
Similar to the ufw utility’s “allow” option, the “deny” or “reject” option is used to prohibit incoming or outgoing traffic on all ports or specific ports. The command for this operation is as follows:
$ sudo ufw [deny/reject] [outgoing/incoming]Checking Firewall Status
Ensuring the operational integrity of your firewall is paramount for maintaining network security. To ascertain the current state of your firewall, the ufw utility offers a simple yet potent tool: the “status” flag. With this feature, network administrators and users can promptly inspect the firewall’s status to determine whether it’s active, which rules are in place, and whether traffic is being allowed or denied.
The command for checking status is as follows:
$ sudo ufw statusTo gain a deeper understanding of the firewall, you can enhance your knowledge by combining the “status” utility with the “verbose” flag. This will provide you with a more comprehensive and detailed view of the configuration and activities.
$ sudo ufw status verboseConnection Limitation
To enhance security against potential brute force attacks or hacking attempts, you can employ the “limit” flag. This feature allows you to block connections originating from a single IP address when multiple connection attempts occur within a 30-second window. This measure effectively mitigates the risk of unauthorized access and bolstering the overall system’s protection.
$ sudo ufw limit sshReloading the Firewall
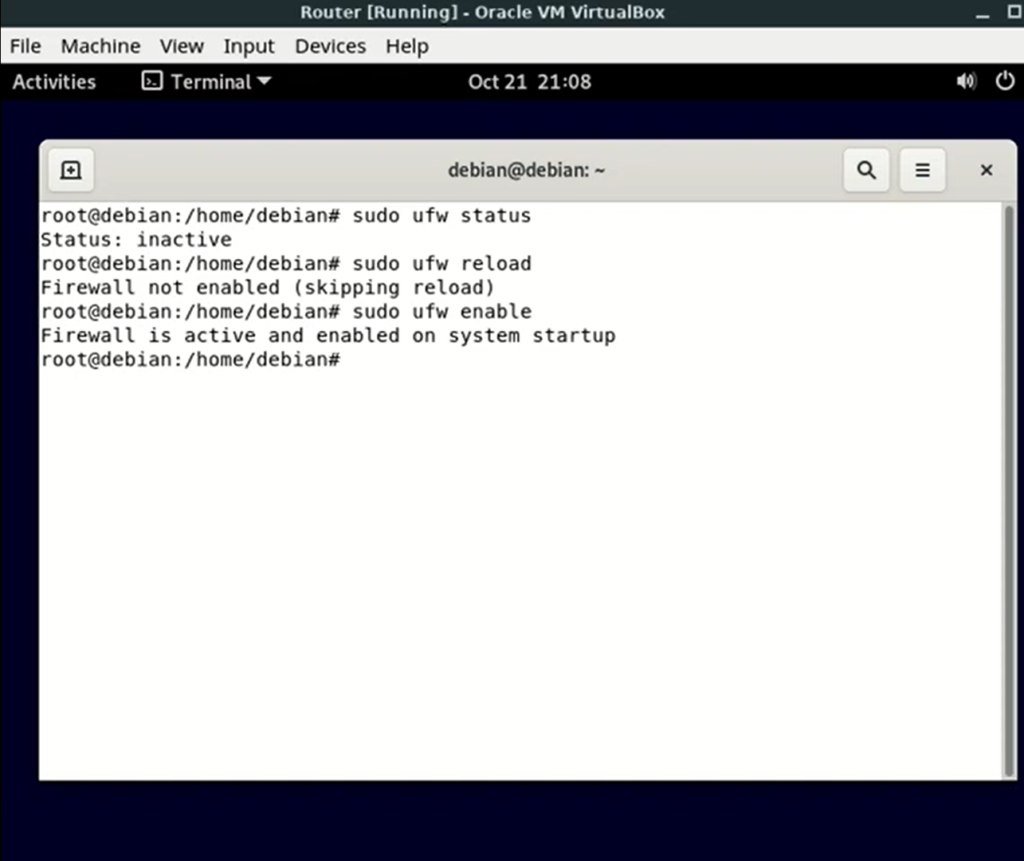
Whenever you make modifications such as adding or deleting firewall rules or allowing and denying network connections, it’s necessary to reload the firewall. You can reload the firewall using the following command:
$ sudo ufw reloadConclusion
Whether you’re an administrator or a regular Debian 12 user, it’s crucial to have a solid grasp of firewall configuration. The Uncomplicated Firewall (ufw) tool proves indispensable in mastering the rules. Picture the firewall as a protective shield for your system, defending it from external threats and malicious activities.
The ufw utility offers a wide array of commands that empower users to toggle firewall states, manipulate firewall rules by adding or removing them, and more. Proficiency in these commands empowers users to take charge of their firewall, enabling them to make decisions about permitting or blocking incoming and outgoing traffic, keeping tabs on the firewall’s status, and even imposing connection restrictions to bolster security against potential attacks. This encapsulates the process of configuring the firewall on Debian 12.